Can You Repair Chips in Your Windscreen Yourself?

Stone chips in your windscreen are a fact of life. Highways England doesn’t have a team performing daily FOD walks on the motorways, and the tarpaulins on lorries don’t perfectly cover their loads of gravel and debris. Sooner or later, it happens to us all – that smack on the windscreen at 70mph, and the resulting unsightly chip.
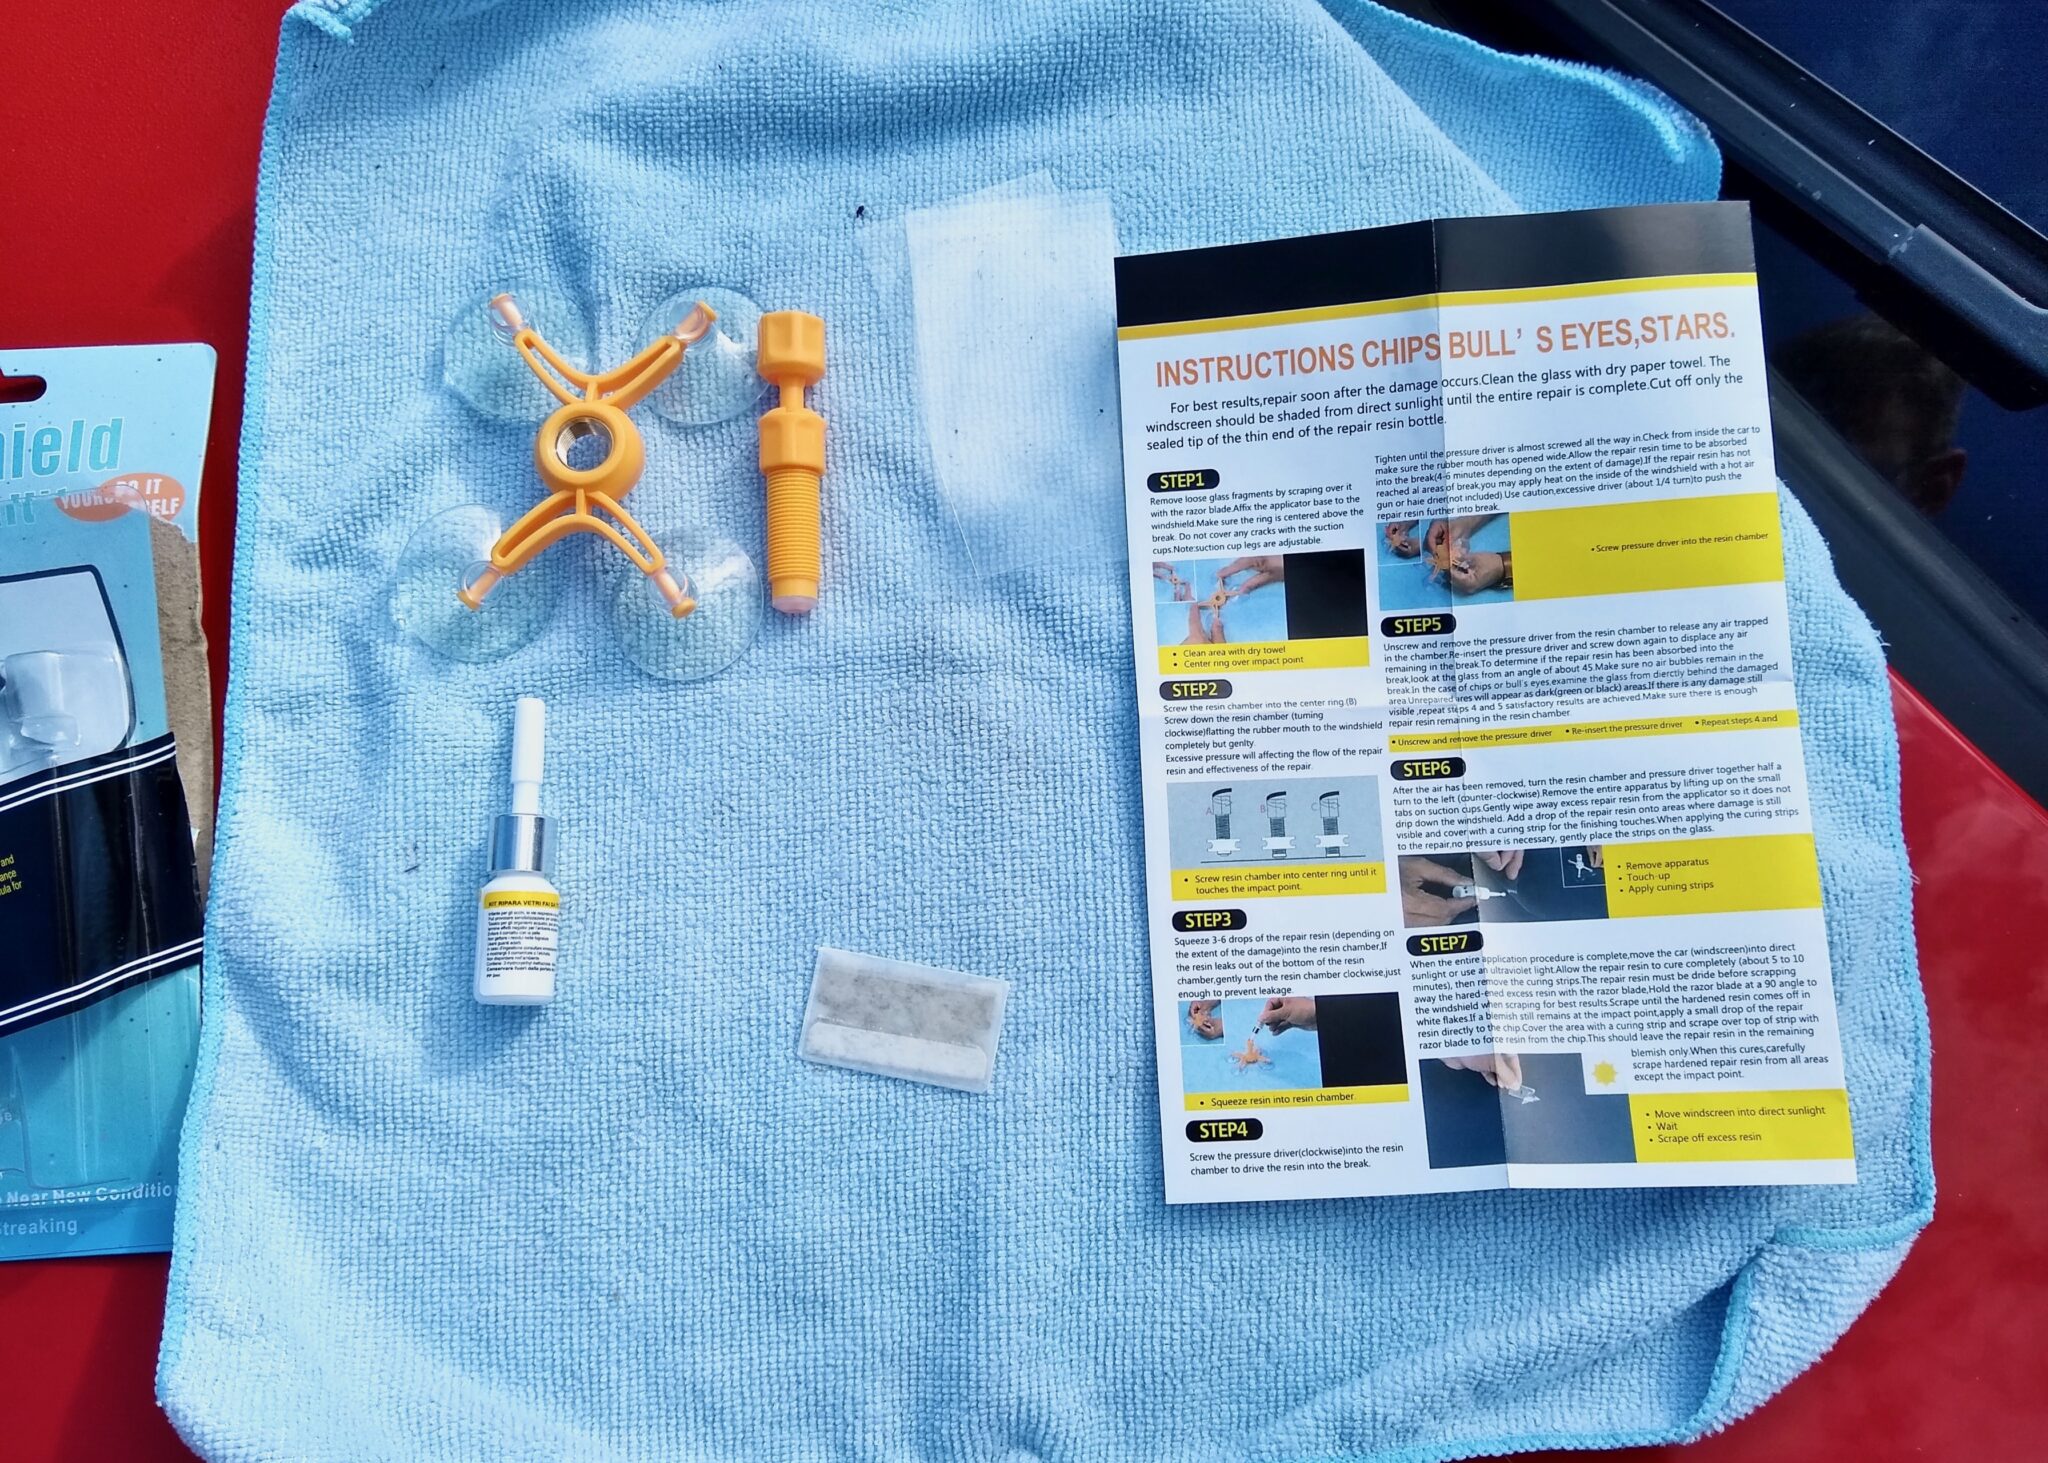
Many of us just live with small chips in the screen. Depending on your insurance, you can sometimes get them repaired for free, but often policies have an excess for these things. I picked up two chips in my screen a while ago. Finding out that my excess was £10, I got curious about some of these repair kits you can get on Amazon and Ebay for less than a tenner. I decided to take the plunge and give it a go, and picked up this one for about £7.
As you can see, the kit contains everything you need to complete the job, and comes with simple instructions. The only prep work you need to do is to ensure your car is not parked in direct sunlight, and that the glass is clean.
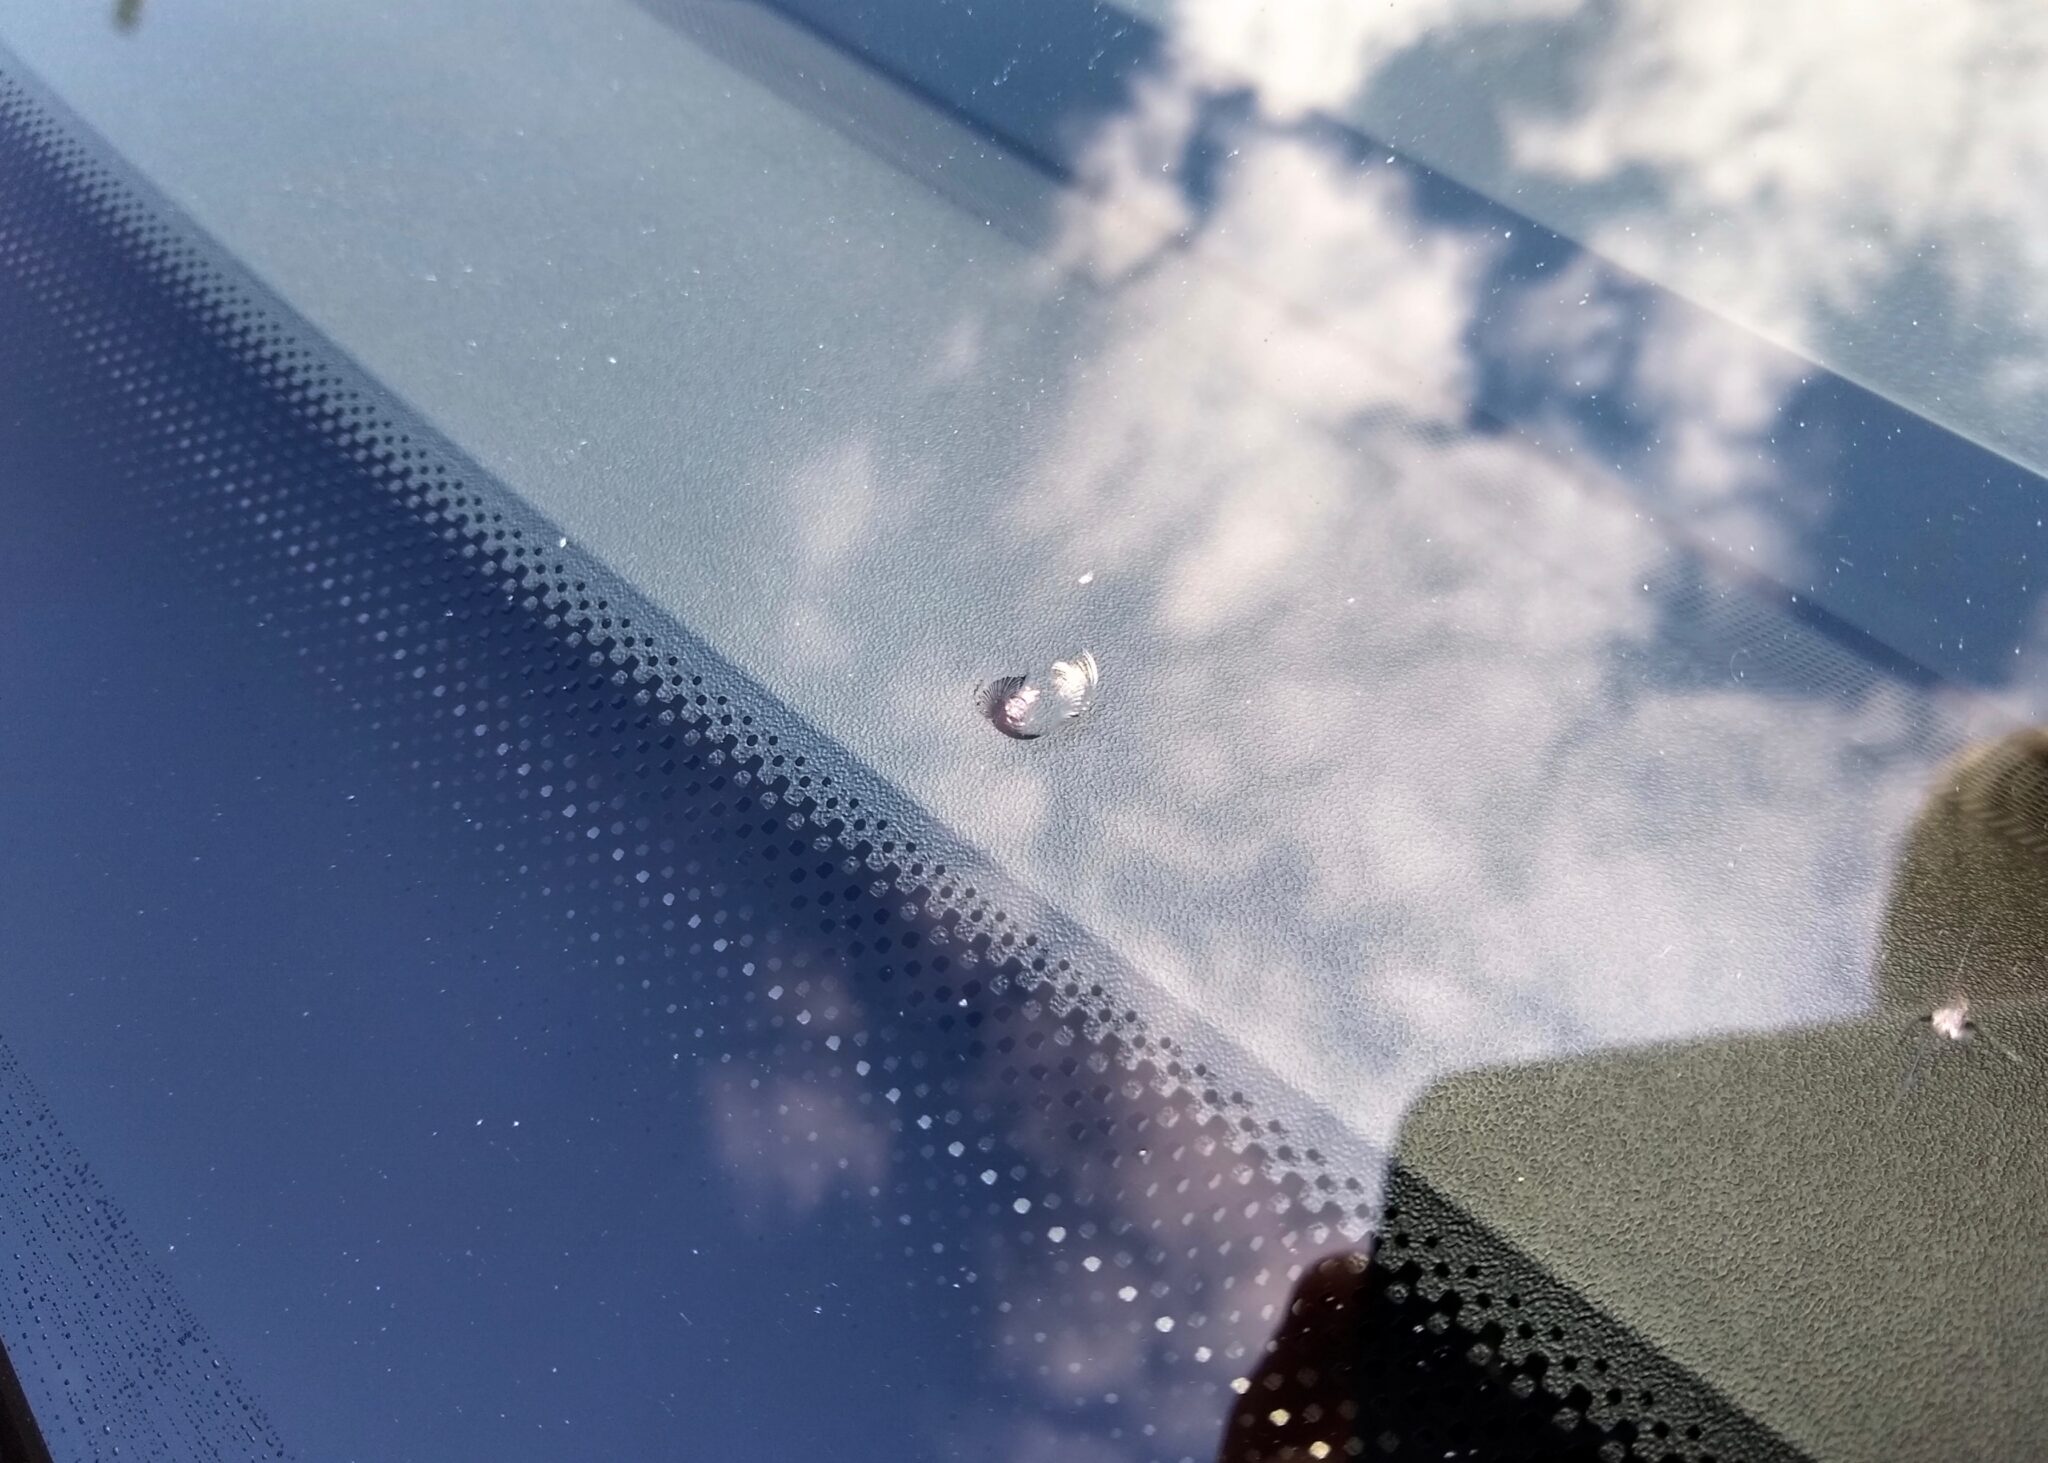
I am working with a fairly decent-sized chip here. This delightful number appeared on the day I bought the car, when a lorry pulled out to pass another lorry as I drove home. The other chip you see on the bottom right was already there. I’m going to make an attempt at repairing that one too, as well as a couple of others.
In terms of actually carrying out the repair, the steps are simple and straightforward. Begin by mounting the plastic frame directly over the chip. Then screw the centre piece in until it makes contact with the glass. Give it a few more twists so that the rubber at the bottom has made a good seal against the glass. Be careful not to go overboard; there are some reports in the Amazon reviews of this causing the glass to crack further.
Squeeze a few drops of the resin into the centre chamber and insert the plunger. This forces the resin into the crack(s). Twist until it is fully seated, and let it sit for 4-6 minutes. After that, take the plunger out and put it all the way back in again to remove any remaining air bubbles. At this point, you need to remove the whole contraption, and wipe away leftover resin. In my case, the chip was virtually unnoticeable at this point. If it’s not, the instructions advise you repeat the previous steps.
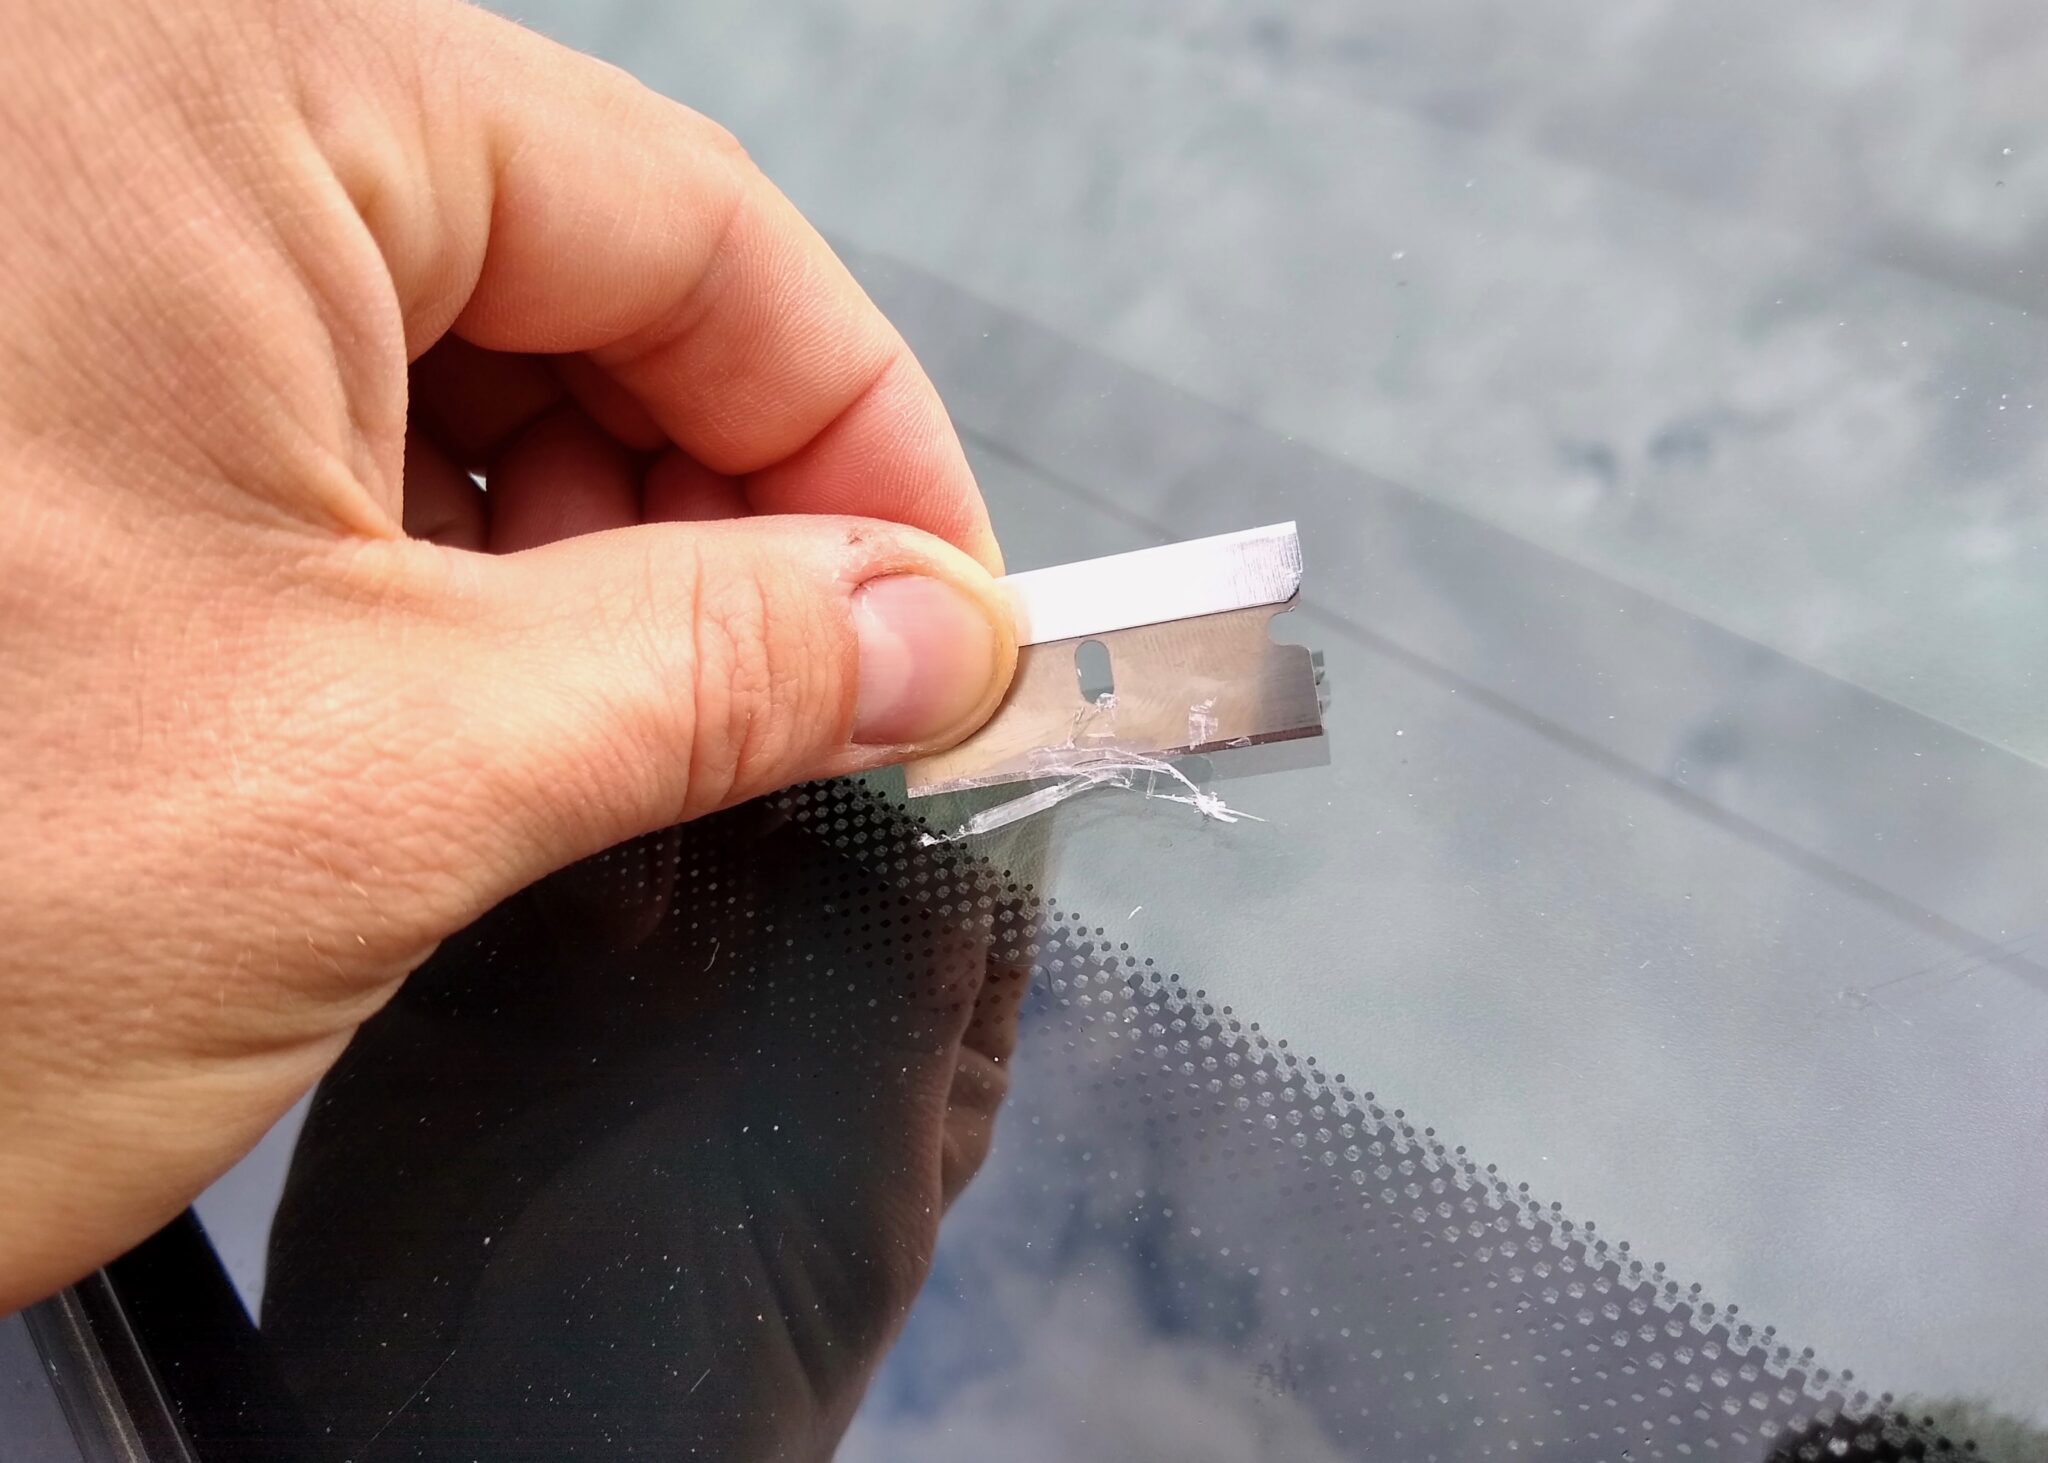
Once the chip is filled, take the bottle of resin, squeeze out another drop over what remains of the crack, and place one of the curing strips over top. You should move the car into direct sunlight at this point, and let the resin cure for ten minutes. Then remove the curing strip, and use the supplied razor blade to scrape the remaining resin off the windscreen.
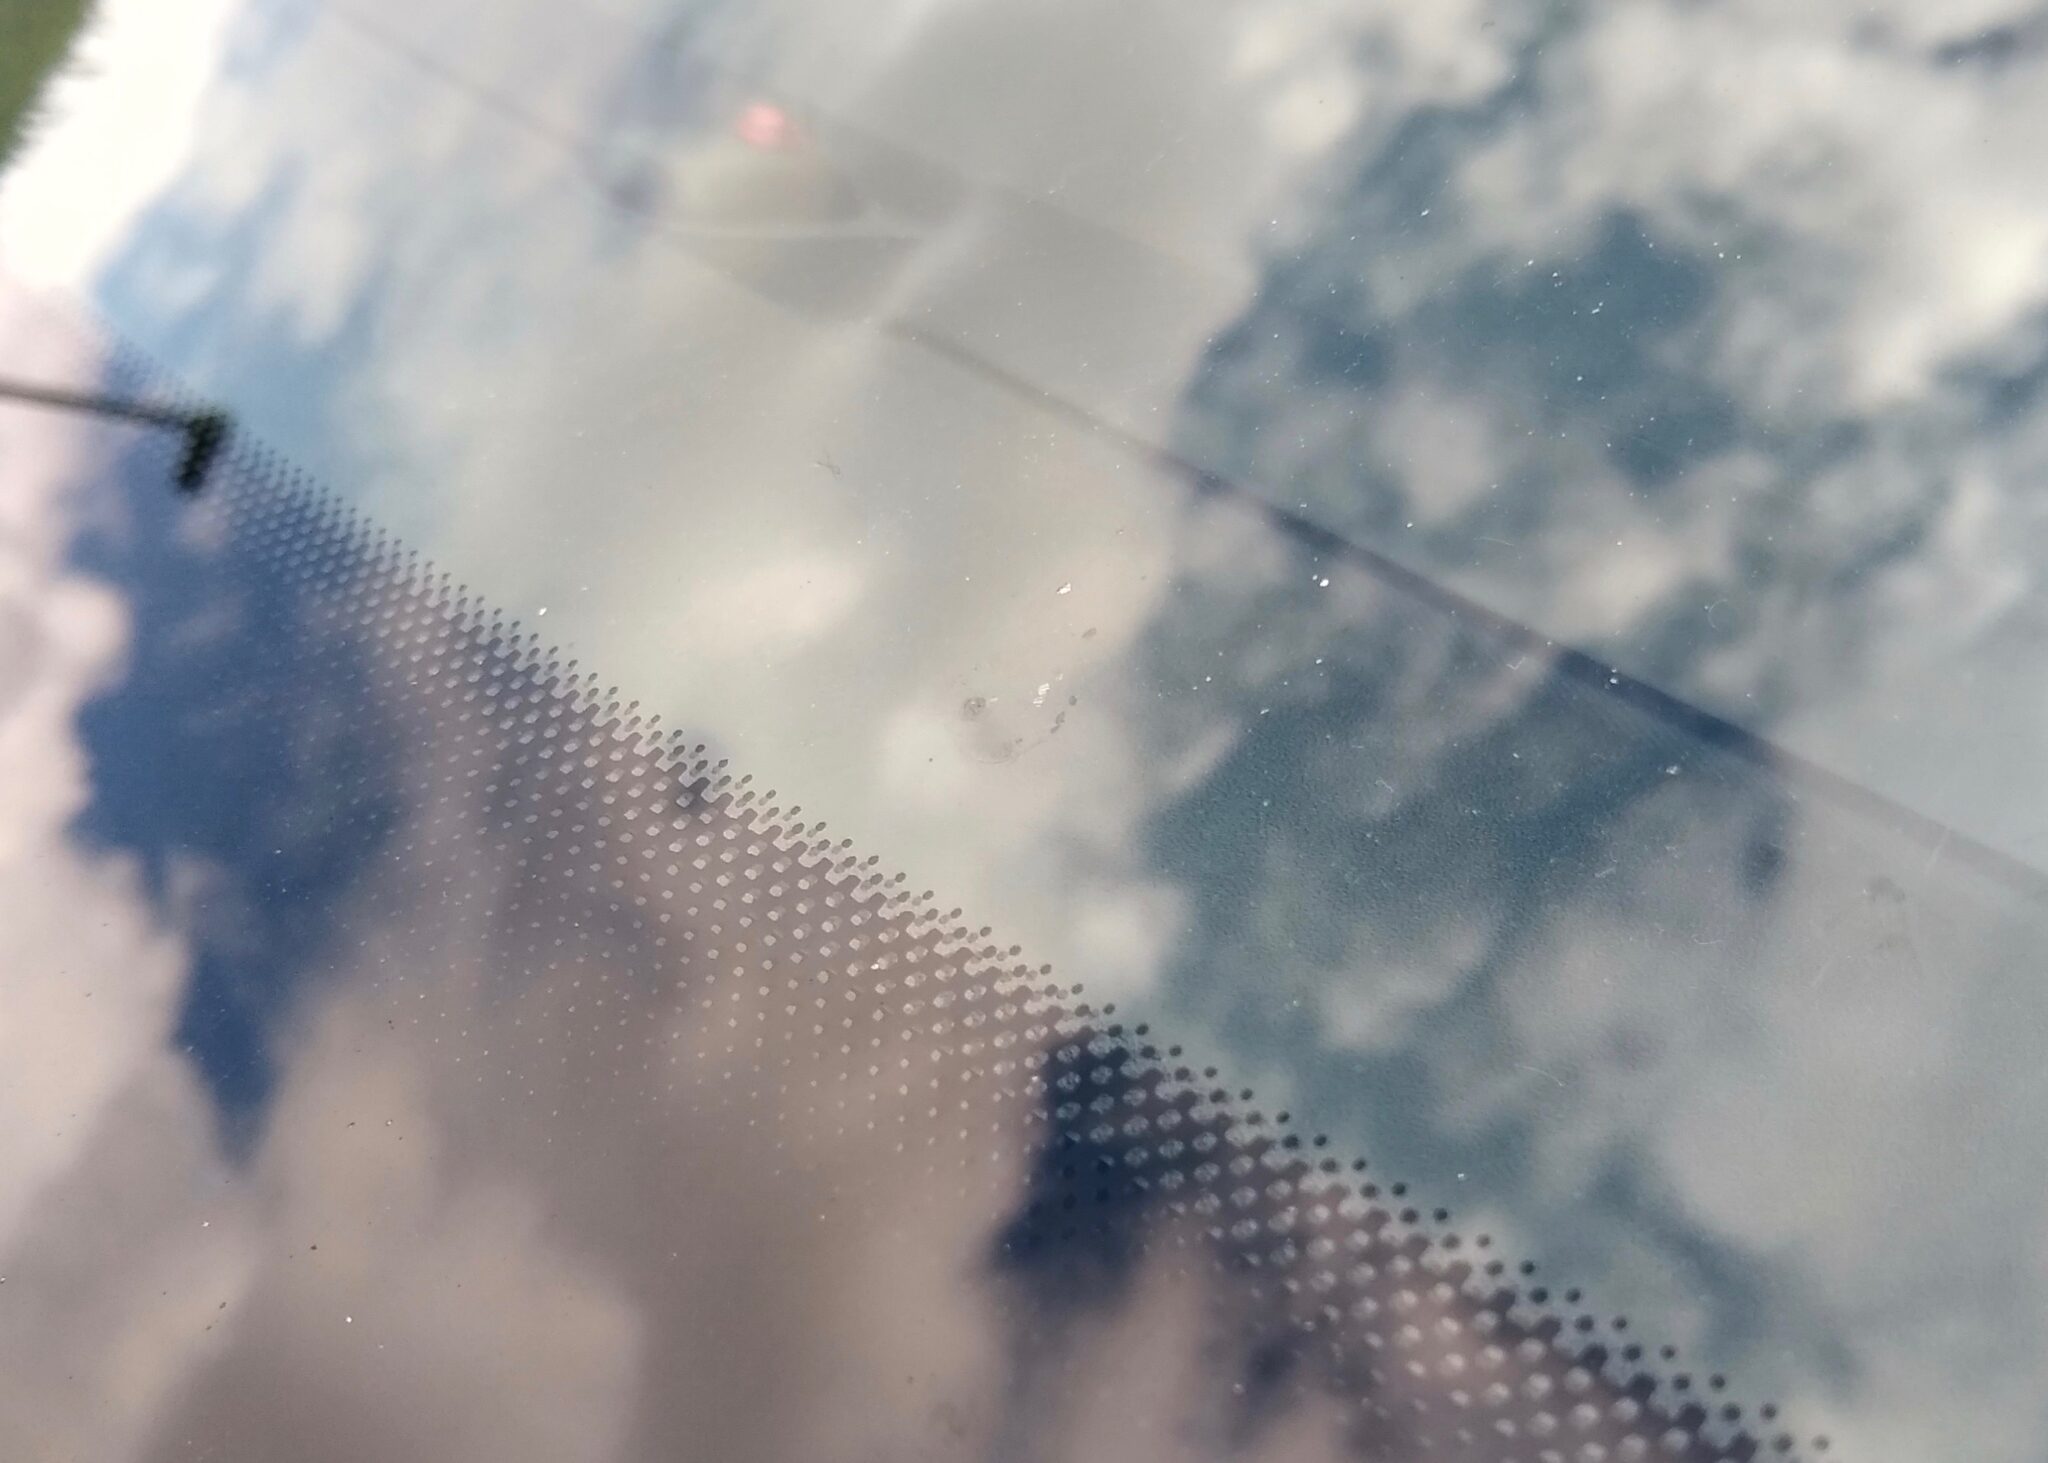
You can see here that the chip is mostly gone now. It’s not perfect, but for £7 and fifteen minutes, it is hard to argue with that result.
As I mentioned, I tried this on a couple of other chips on the screen as well. The one you saw above in the corner of the photo worked fairly well, although some of the crack remains. I had one larger chip still, and that one was not as successful. I think this might be down to the fact that it was too large for the little tool to make a perfect seal.
Overall, it is an easy kit to work with. Keep some rags handy, though, as the resin is a bit messy. The fumes are also very strong, so it might be better to attempt your repair on a breezy day.
All told, I am pleasantly surprised with the results here. It is no professional job, but for £7 and an hour in the driveway, the windscreen is much improved.


